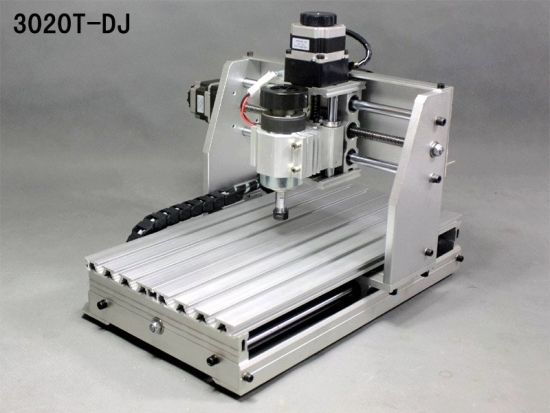
CNC 3020T-DJ
![]()
Este é o meu review da minha CNC de modelo YOOCNC 3020T DJ comprada na Ebay. Neste momento apenas está disponivel em inglês mas brevemente adicionarei em português.
![]()
This is my review of my YOOCNC 3020T-DJ CNC machine that i bought on Ebay...
Some ebay sellers are selling this CNC machine. It is available in 300x200mm , 400x300mm and 600x400mm size.
My machine is a 300x200mm.
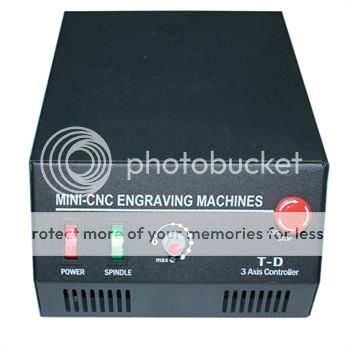
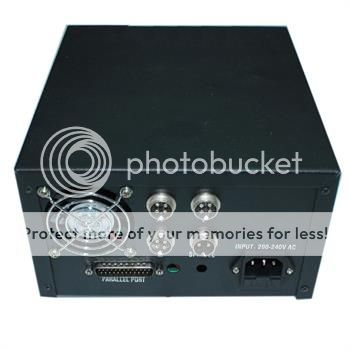
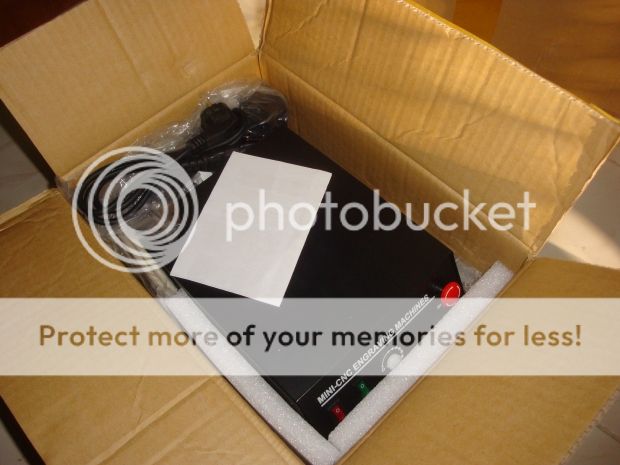
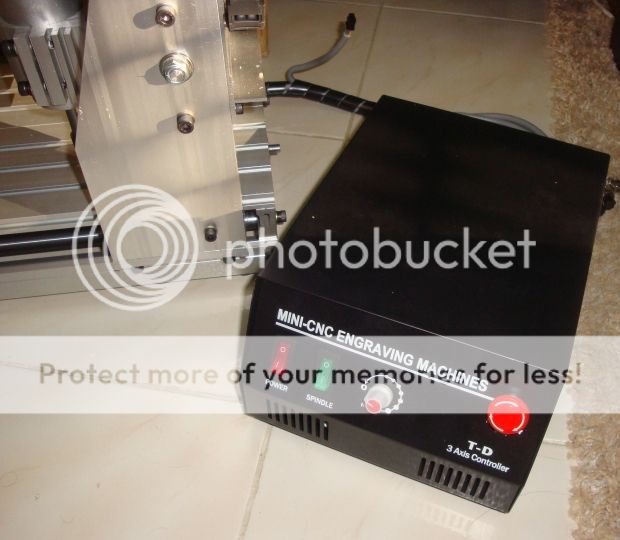
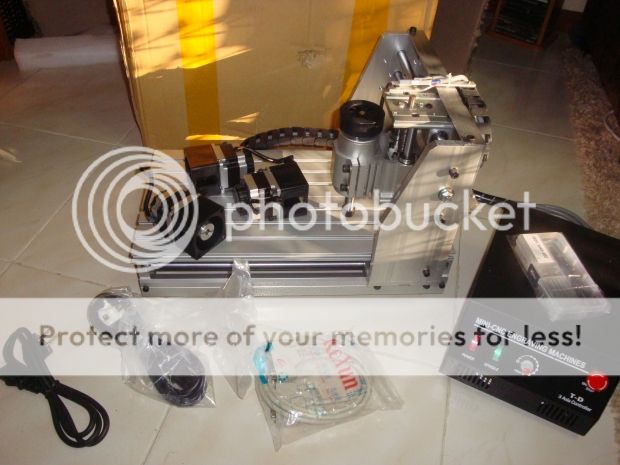
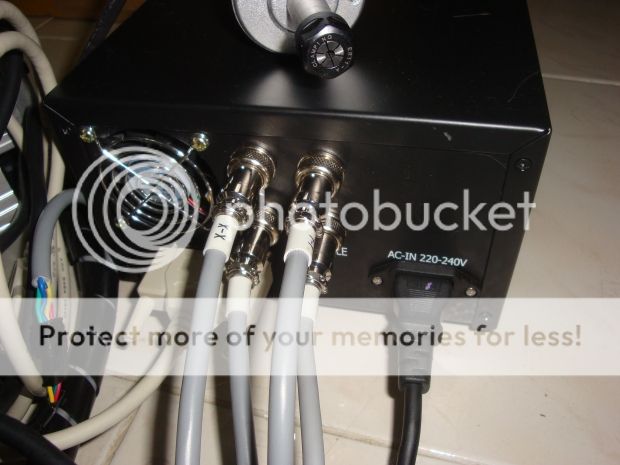
Mine came with this controller. Some of them might be a little different.
There are also some more expensive versions of this controller with more output/input options like software PWM control, limit switches input, etc. My version is the basic one with no such options.
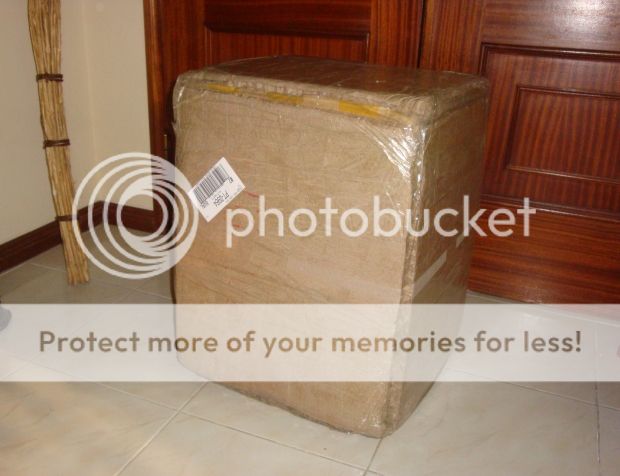
The package arrived directly to my house as promissed meaning that it was relly shipped from an UK warehouse and no customs taxes needed.
The package was heavy and in good condition.
There was a box inside the box. packaging looking good so far.
A label was found saying 3020T-DJ (AC-220V). Also a DVD was glueded on the box.
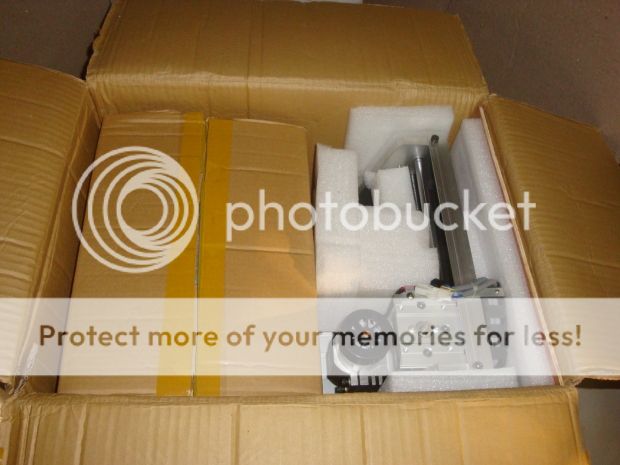
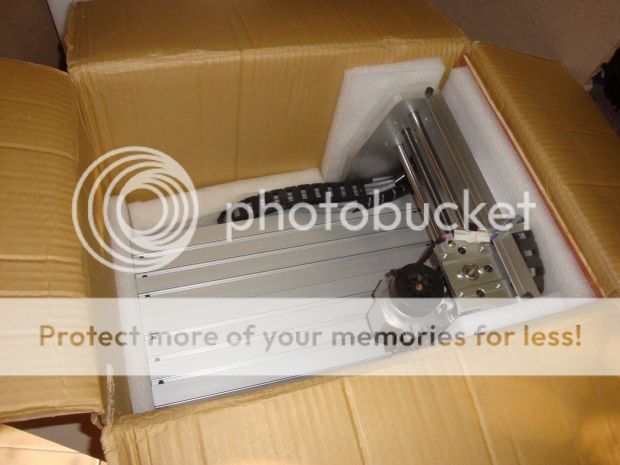
Inside the box i could see the top of the machine, lots of foam and a smaller box inside.
The smaller box was on top of the machine.
On the bottom and side there was two sheets of plywood to prevent damages.
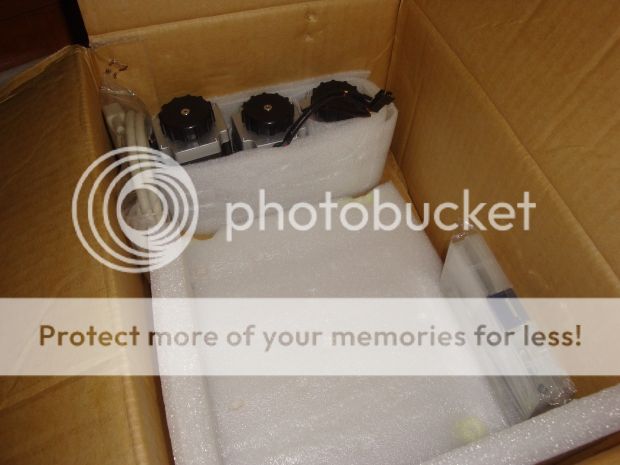
Inside the smaller box was the controller and stepper motors, cables, couplings, etc.
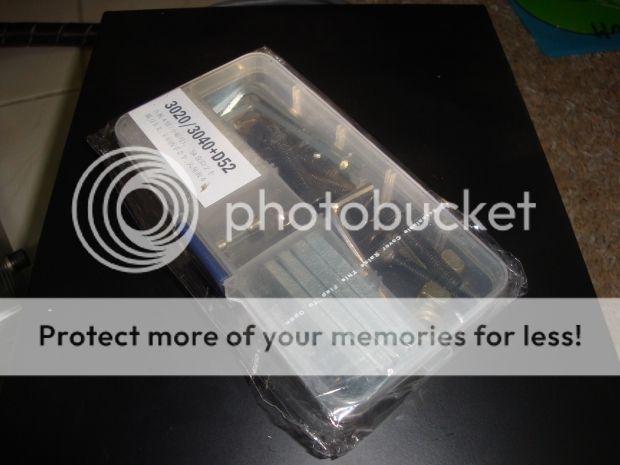
And a small plastic tool box.
The small tool box contains some tools, screws, fuses, nuts, etc.
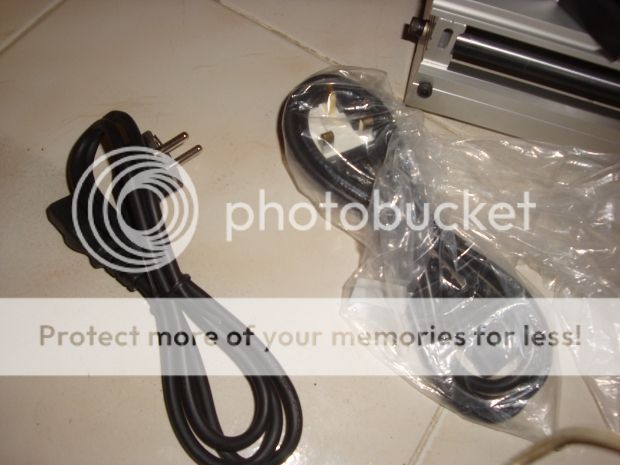
Two power cables were included. One for UK and one for EU plug.
The controller unit arrived with no scratches.
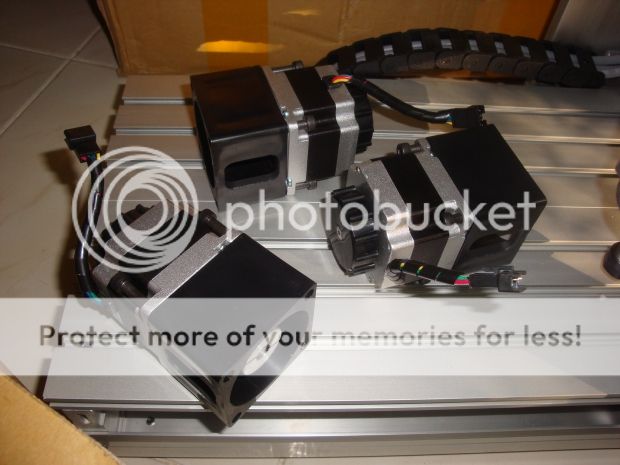
The three stepper motors have the back knob. The stepper mounts are plastic but good enough.
The parallel data cable is also included. The motor came already assembled.
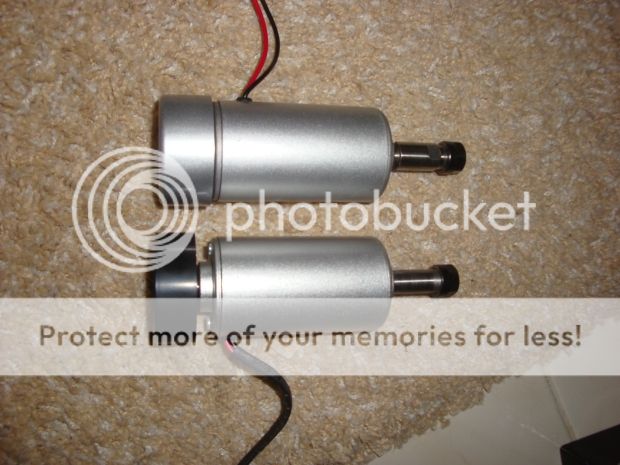
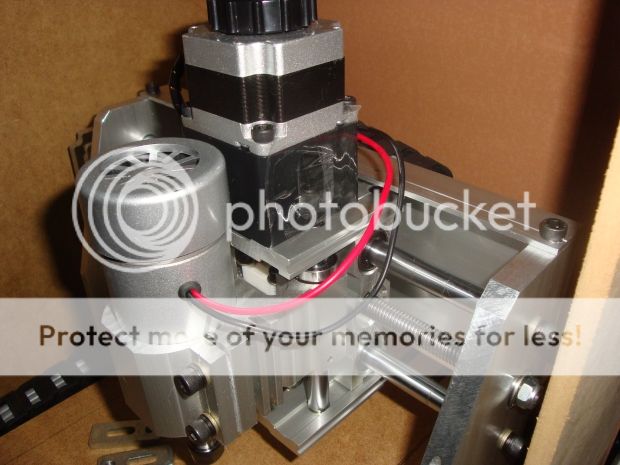
I already had a second spindle motor also bough from ebay. Since the one i have is better than the stock one i installed that one instead.
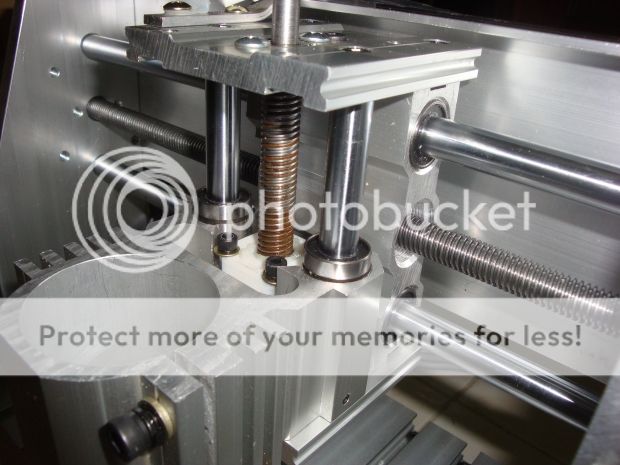
Before starting the assembly of the stepper motors i checked spindles and screws.
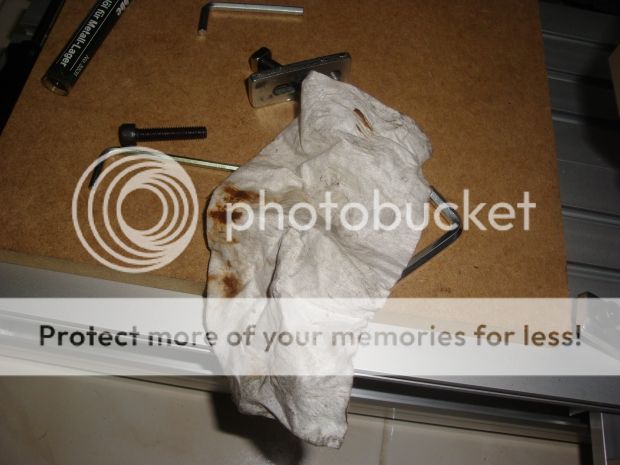
I noticed that the Z screw was very dirty.
It looked like rust but after cleaning it the brown stuff came off.
The Y and X screw arrived clean.
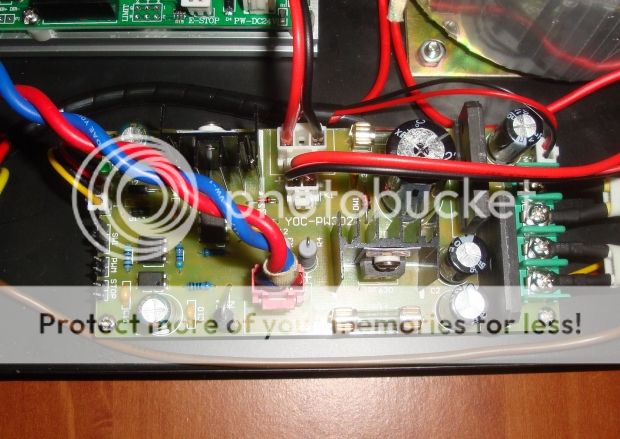
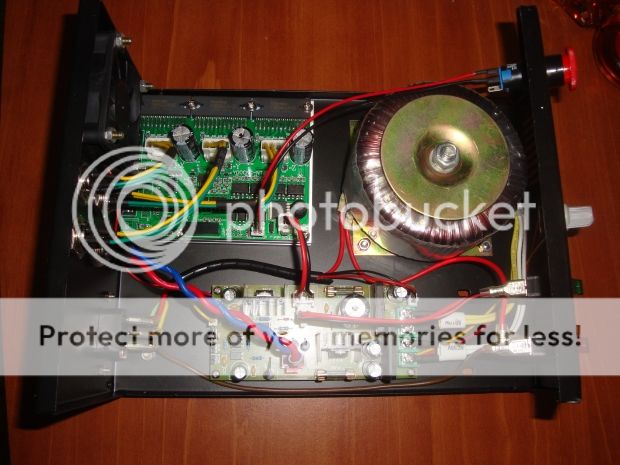
I also opened the controller to check what electronic board was inside.
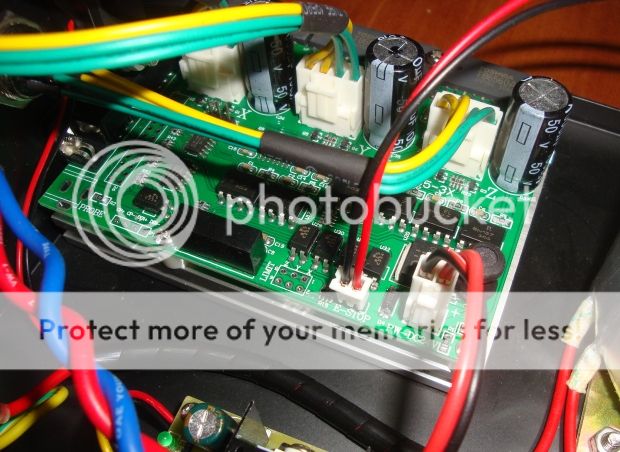
It was equipped with two boards. One power supply board ( YOC-PW3024 ) and one controller board.
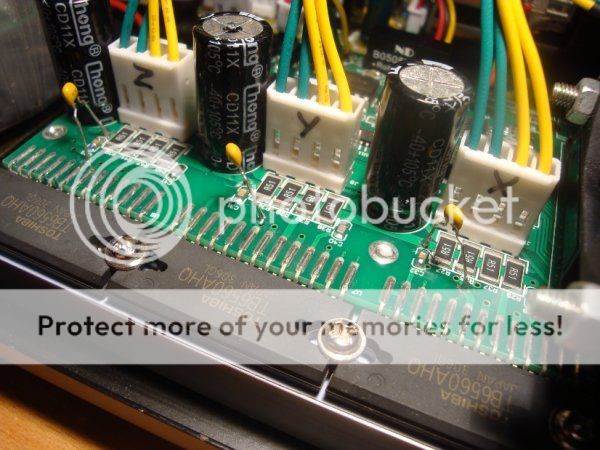
The controller board is equipped with the famous TB6560 toshiba ICs.
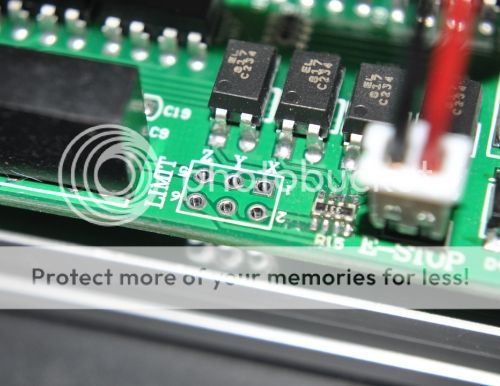
I noticed that the controller board has many unused pads and connections on the board.
One that cought my eye is the limits signal input.
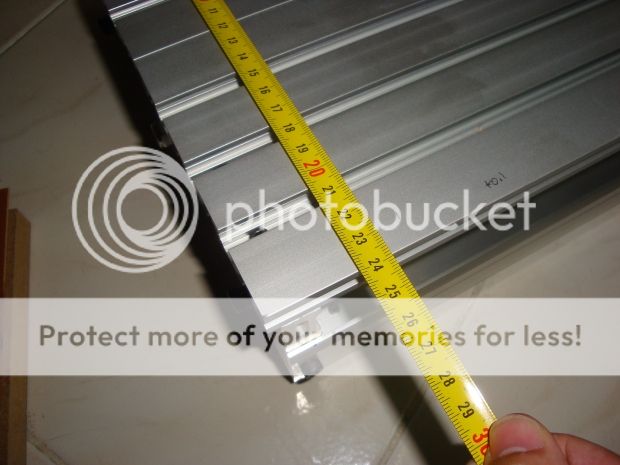
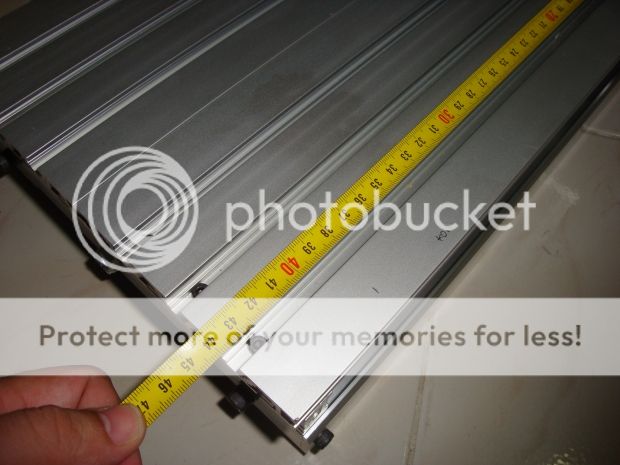
Measuring the table it has 240mm wide...
by 440mm long.
For a quick test i connected all the cables to the controller.
Tryed to use my laptop but since Mach3 is not compatible with USB to LPT converters it would not work.
Instead i only tested the spindle motor.
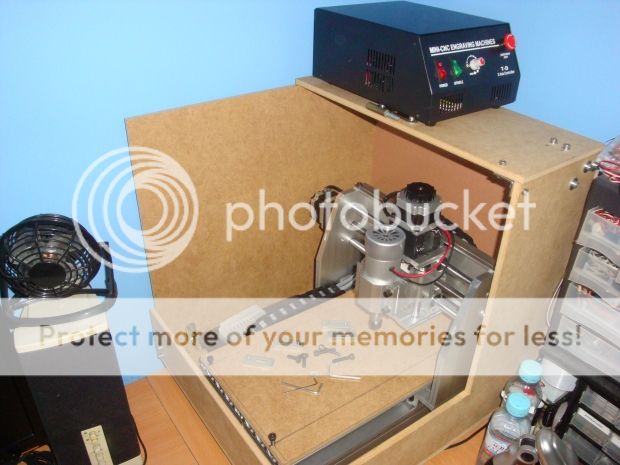
At the same time as my assembly, i decided to build a box to keep my CNC inside.
The reason for this is 1- noise reduction and 2- dust control.
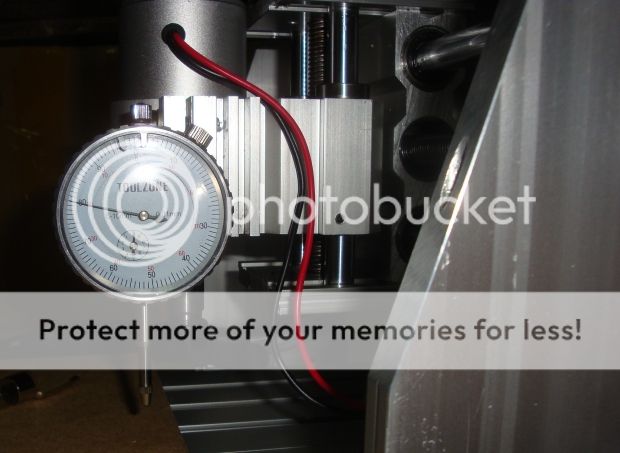
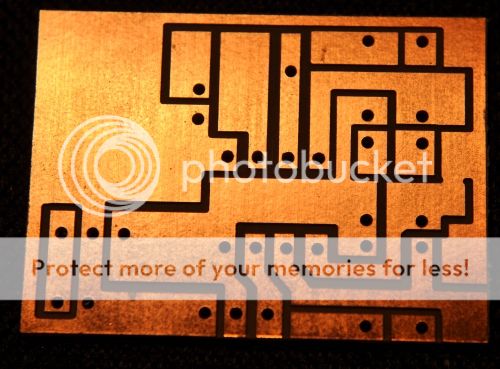
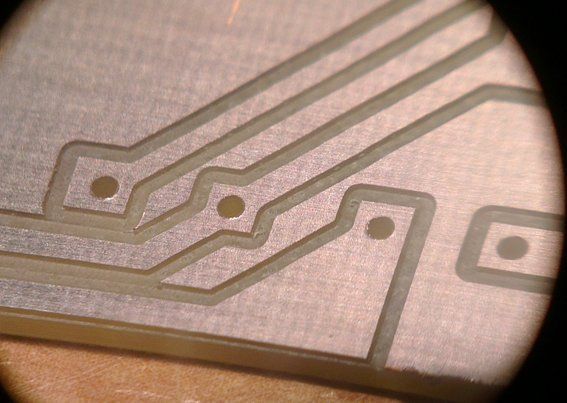
Since i will use my CNC mainly to cut PCBs, the table must be planarized correctly.
To check it i installed my dial and moved along the table.
Unfortunately the planarity was not good so i need to fix it with shims.
I decided to cover the stepper mount holes with some tape to keep dust and debris out.
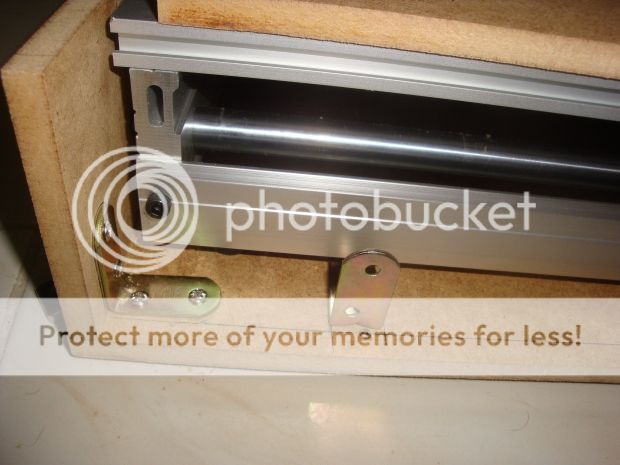
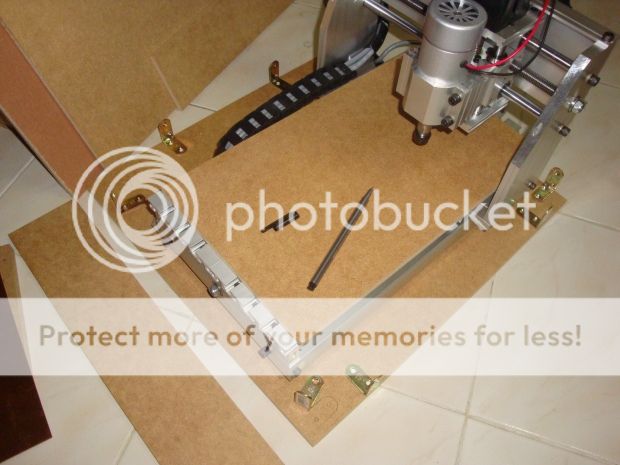
Also cutted a wooden base for my CNC table. This way i can protect the metal base in case the endmill drops too much.
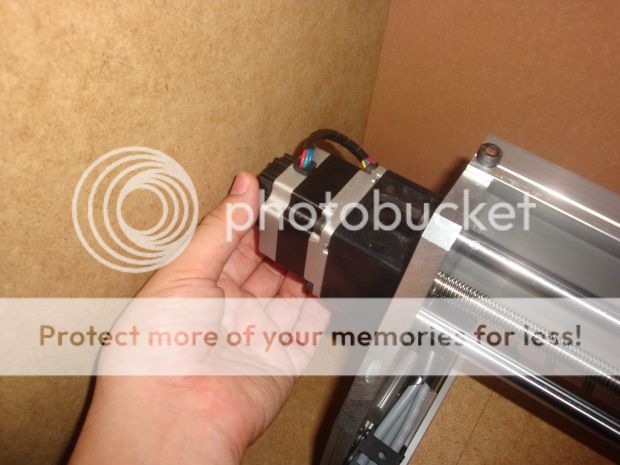
The X stepper motor got very close to the side of the box but thanks to the big knobs i can easily turn the motor.
The controller can stay on top of the box. It needs to be in range.
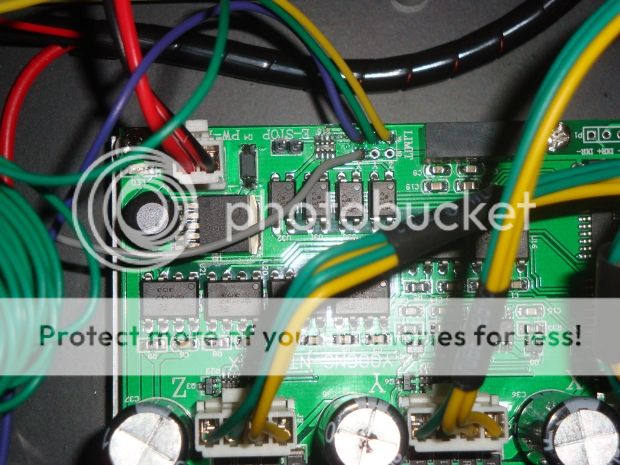
Since the machine didnt came equipped with limit switches, which for me is an important feature, i opened the controller again and searched for the limit inputs.
Soldered 4 wires. One for return signal and 3 for the axis ( X,Y and Z ).
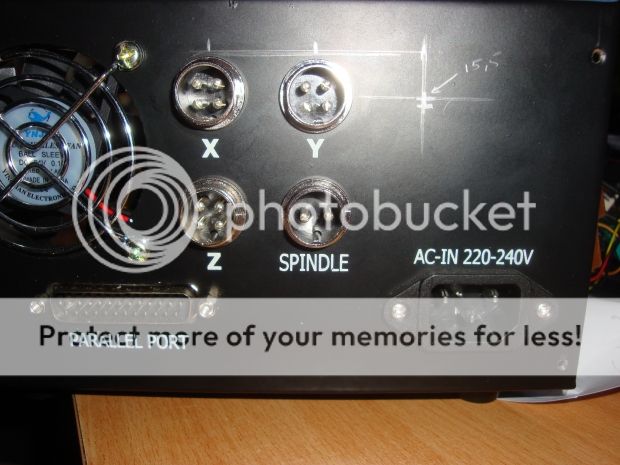
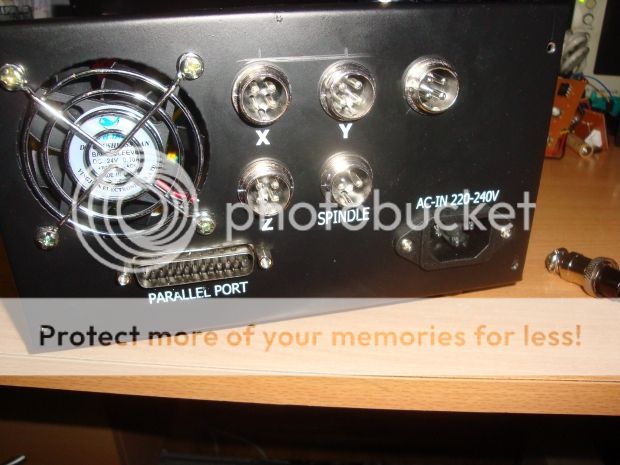
On the back i marked and drilled a hole for the new connection.
I got the same type of connectors.
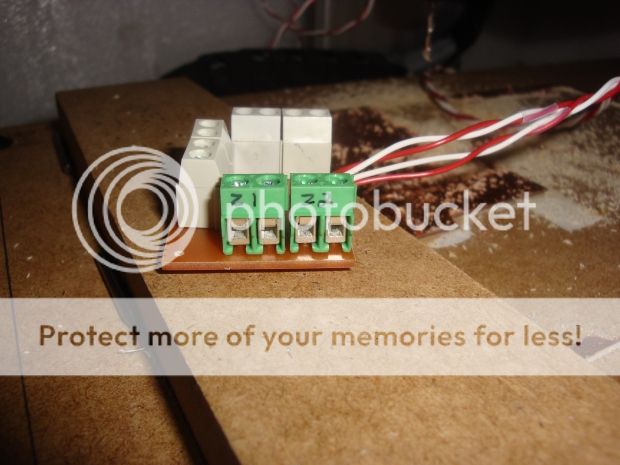
There was only one connection for each axis but i wanted to install 2 limit switches for each axis.
So i made a board to connect all 6 switches using individual screw connectors.
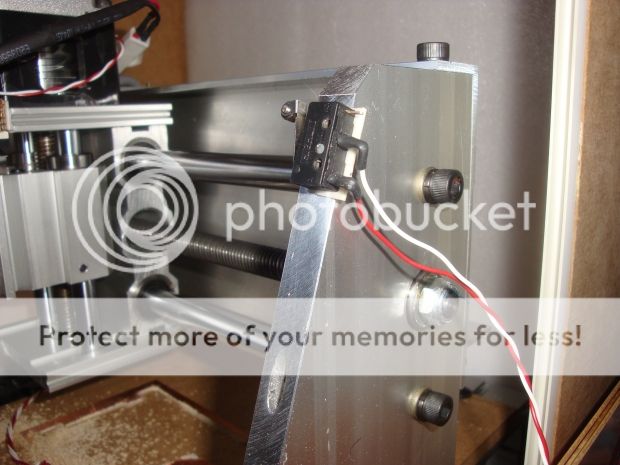
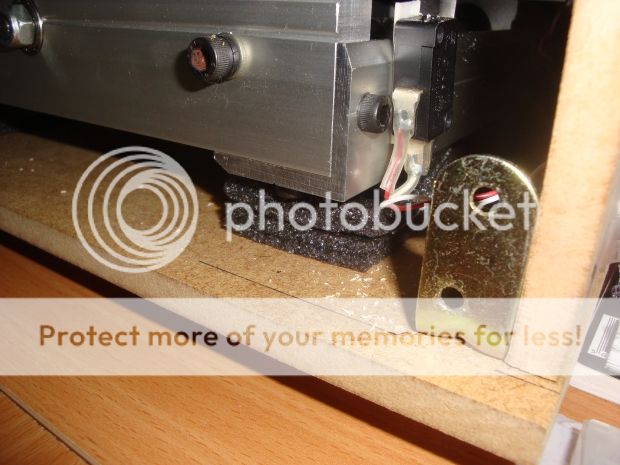
I prefered not to drill holes in the frame so i used strong double side tape to hold them in place.
The Y axis limit switches are installed on the right side of the machine.
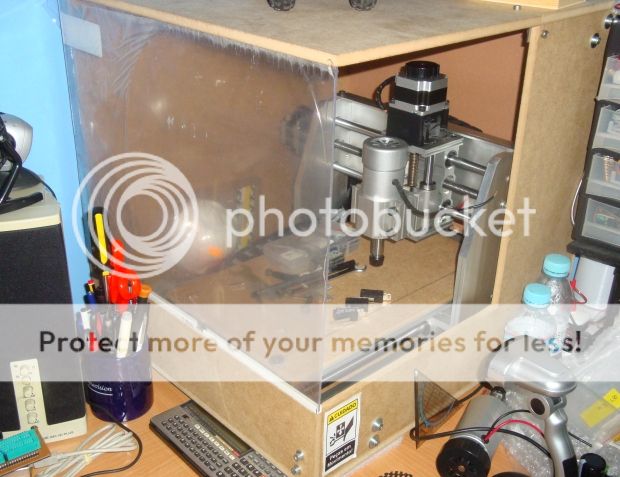
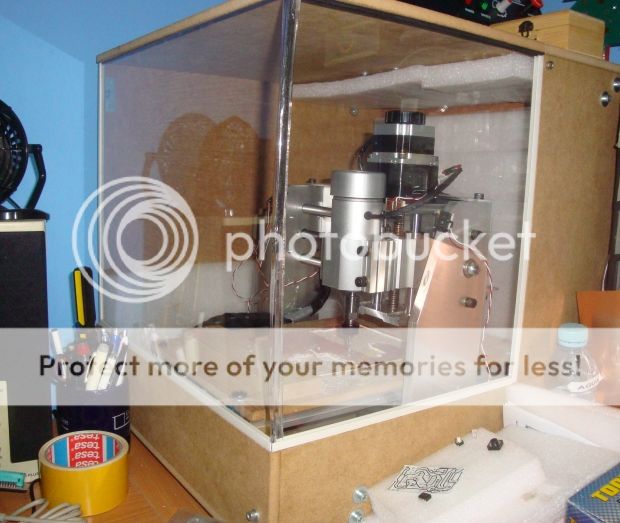
To keep an eye on the machine while working i decided to add some acrylic sheets.
Next is a picture of the acrylic in place but still with the plastic protection.
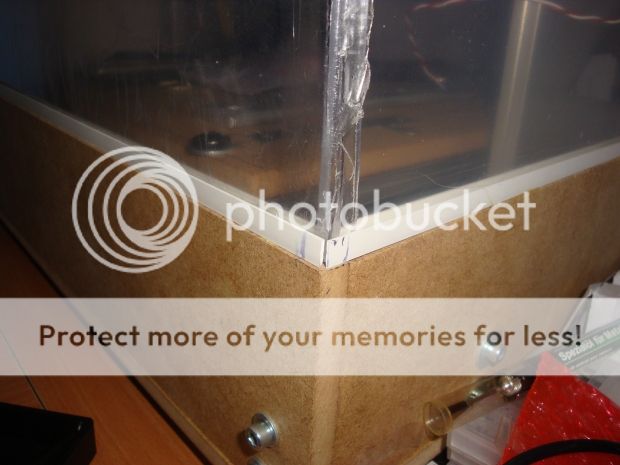
In one of the sheets i bent the edge to overlap and prevent dust from getting out.
Both acrylic sheets and the top can be easly removed to access the machine.
A plastic U frame was used to secure the acrylic in place.
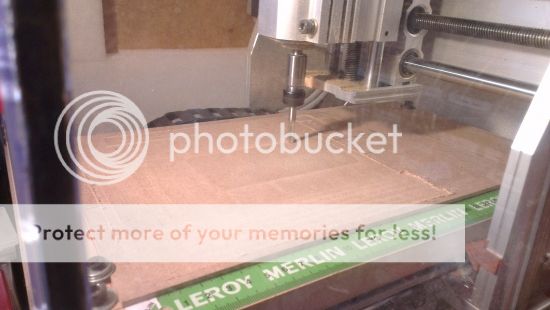
As i already mentioned, i placed a thick wood base on top of the stage. To reduce the planarity problems i ran a surface correction program.
This program just moves along the table cutting the entire surface in small z steps to planarize the base.
Running a few cuts i noticed that this is a good machine for the price.
Did not found any issue with the CNC machine it self but found some issues with the controller.
I get good precision from the machine.
The biggest problem is when cutting circles.
Normally this problem is related with mechanical backlash but i discovered that my controller was loosing some steps.
When cutting big designs this was more noticeable. One of the things i tried was to slow down the speed and acceleration.
It helped but did not fixed the problem. When searching the web i found that more users have the same problem.
In fact, in CNCzone forum there is a topic discussing this issue. They suggest to solder capacitors next to the toshiba ICs to reduce noise ( https://www.cnczone.com/forums/chinese-machines/190286-cad-6.html ).
I soldered the caps as mentioned and i noticed a big improvement but still not a fix.
For that reason i decided to quit this controller and build my own using high quality drivers instead of these toshiba ones.
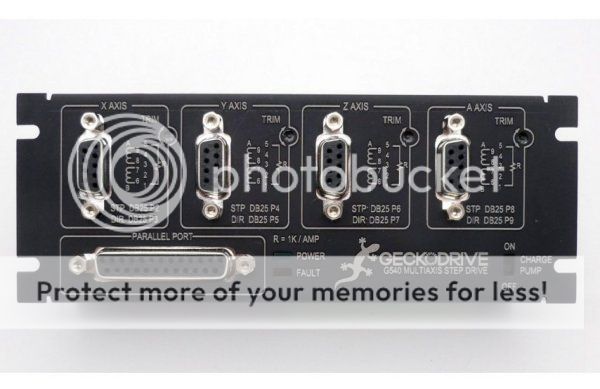
My choise was the USA made Gecko G540 driver.
The G540 is a 4-axis system which plugs directly into the computer via the parallel port like the original chinese one but uses DB9 connectors to connect to the stepper motors.
Inside are four G250 drives, an integrated breakout board, and a hard anodized aluminum case.
This driver is not cheap but it is worth the money!
I also replaced the X and Y axis stepper motors for a couple of good quality Nema 23 stepper motors. I decided to keep the original Z axis stepper motor because the Z motion does not require much speed or torque and the knob is very good to have.
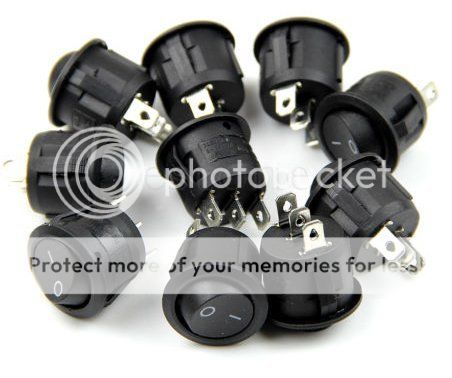
Ordered from ebay a PWM spindle controller, some switches and an emergency switch.
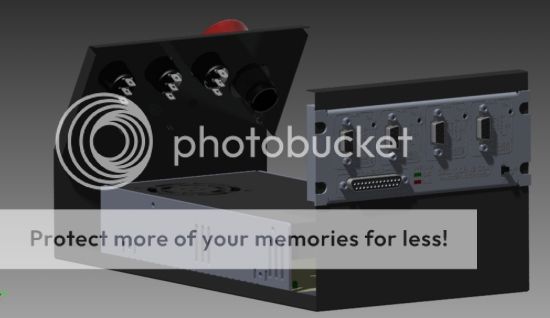
As usual, i like to plan and preview what i do so i designed my enclosure in a 3D cad software.
This is the 3D draft drawing of the new enclosure.
3D front view with some components.
Back view with some components.
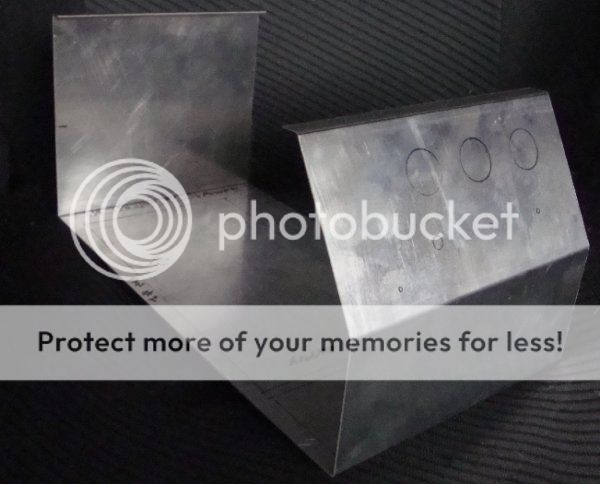
Sent the drawings to a workshop and they cutted the 2 metal sheets. This is the bottom one.
Next picture shows the 2 metal sheets together.
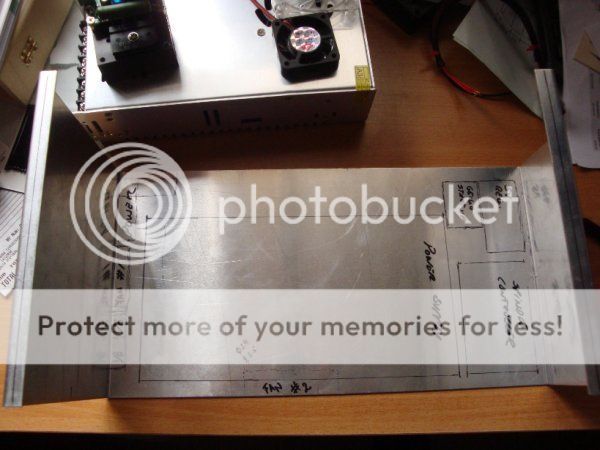
Planned the position of the power supply, spindle controller, etc.
And marked the areas that i needed to cut off.
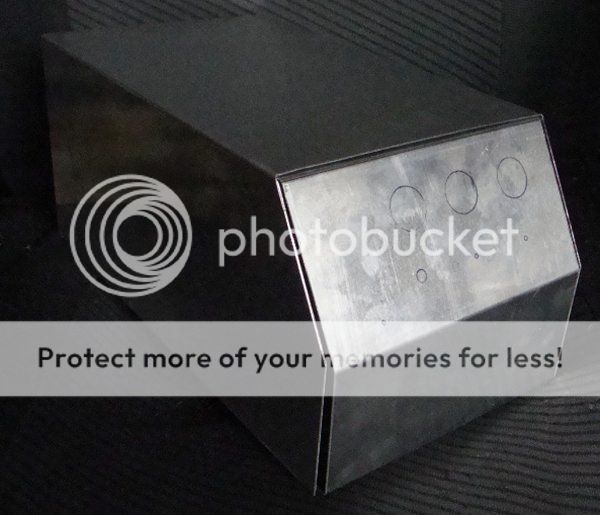
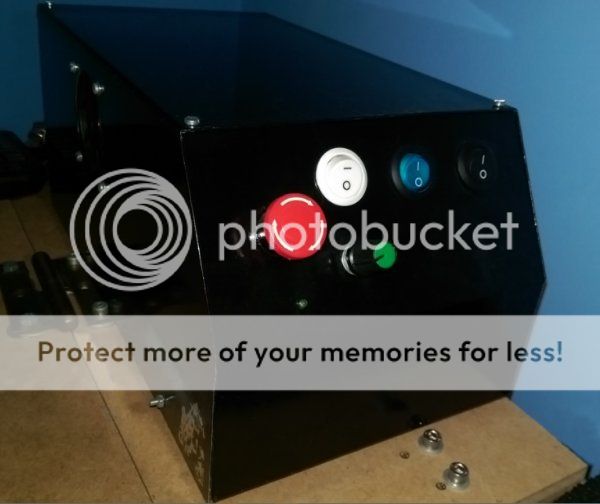
Painted the enclosure with black paint and after installing all the components this is how it looks like.
At the front panel i have the main power switch ( black switch ), the Gecko driver power switch ( blue switch ), the spindle power switch white switch ) and the speed potentiometer and the emergency stop button. There is also a power on led and a spindle power on led.
The reason for a second power switch to power the gecko controller is because the manual of the driver recomends it because of power spikes that may occour when the power supply turns on damaging the driver.
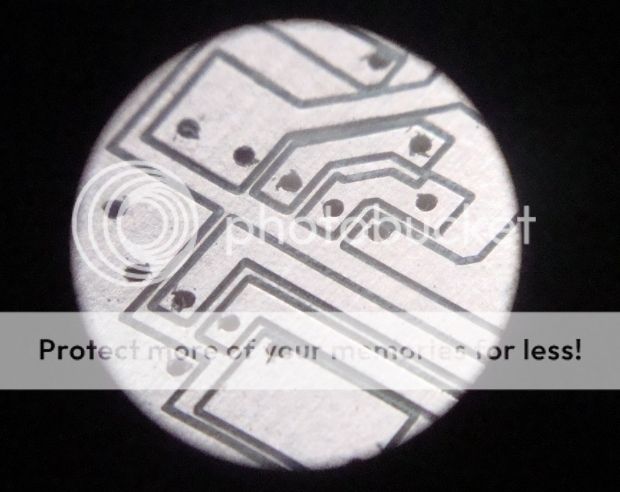
PCB works have a good detail. No more loosing steps and higher speeds are allowed now.
Also large wood works are perfect now.
I have this machine for 2 years now and no problems have been found.
My final comment is that this is a good machine except for the controller. If there is the chance of buying the hardware machine and build or buy a trustfull controller is a better option. There is a new version of this machine were the X axis is protected from dust. This is a good improvement. However for me this is not a very critical issue because i clean the machine everytime at the end of the day and because i dont cut metal it helps to extend the life of the hardware. Metal debris in the leadscrews is never good. Plastic and wood debris is not so critical.
Next are some links where you can find some videos of my machine running...
www.youtube.com/watch?v=dW4vccfH4Ak
After the Gecko upgrade
www.youtube.com/watch?v=gd6T8za5Sk0
You can also see my topic on how to make PCBs with a CNC machine:
ruijc.webnode.com/products/pcb-com-cnc-pcb-with-cnc/

