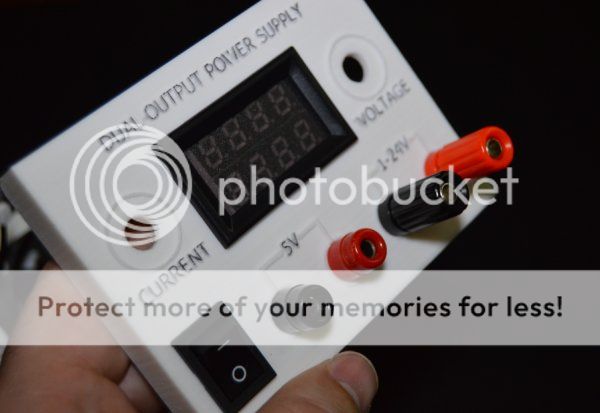
Some time ago i transformed my CB radio power supply into a variable workbench power supply.
I added my own board with a microchip microcontroller to sense voltages, monitor temperatures and display all this information in a small display.
The project can be found here:
ruijc.webnode.com/products/fonte-de-alimenta%C3%A7%C3%A3o-variavel-adjustable-power-supply/
Although this power supply displays the output current, i could not control it. I decided it was time to do something about it.
The major problem was the enclosure...i had a new plan but the enclosure was not helping because it was already full of holes and openings.
I needed a new enclosure...so why not use my new 3D printer?
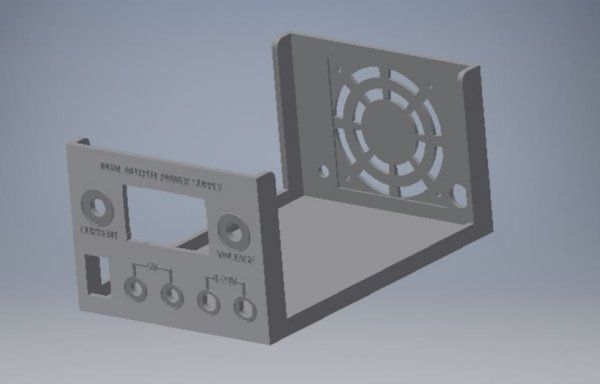
Started with the design of the enclosure making sure everything i needed would fit.
The design was exported and the 3D printer did the rest.
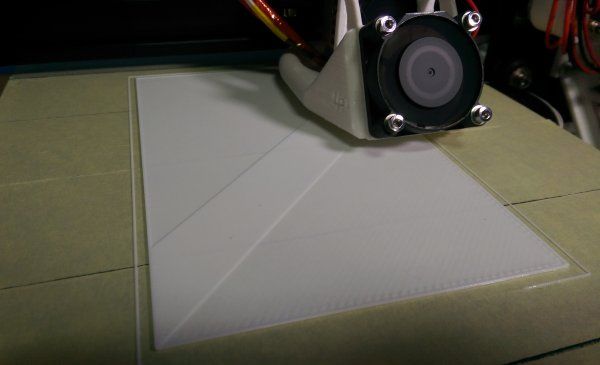
I used a Tevo Tarantula 3D printer with a large bed.
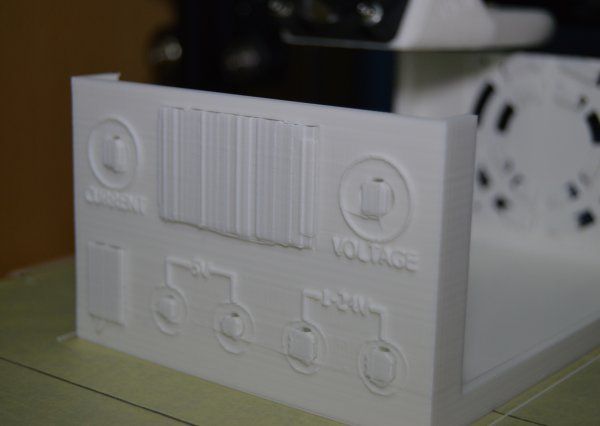
During the print.
The enclosure without the supports.
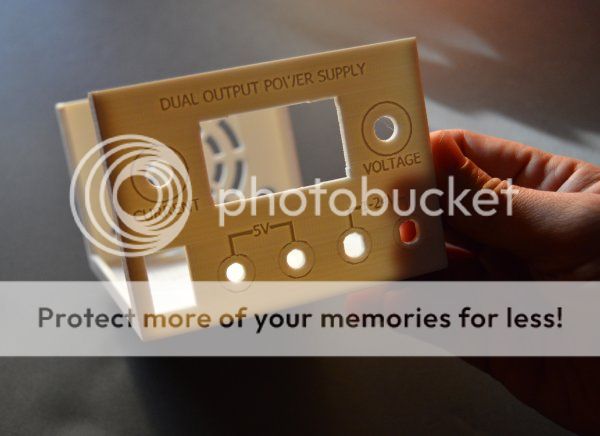
The letters were painted with a sharpie.
Main parts needed:
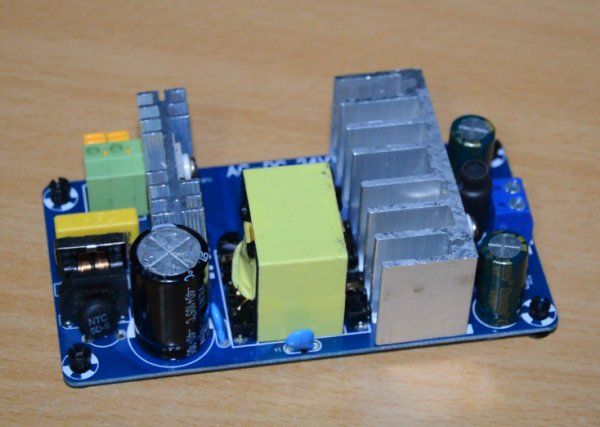
100W AC-DC converter
110V 220V to 24VDC 6A
Power supply switching transformer
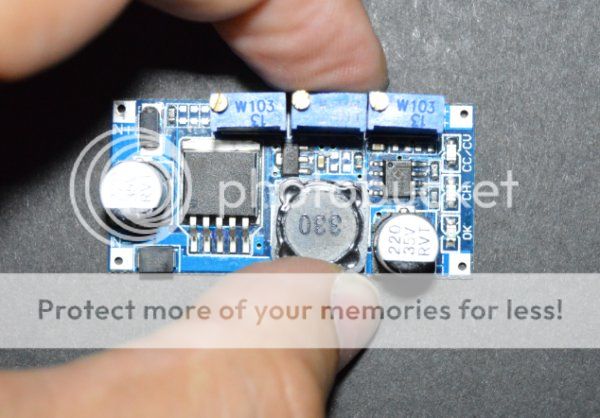
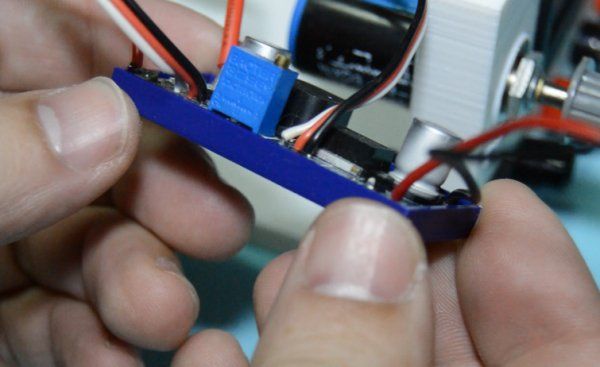
LM2596 DC-DC Buck converter constant current voltage adjustable module
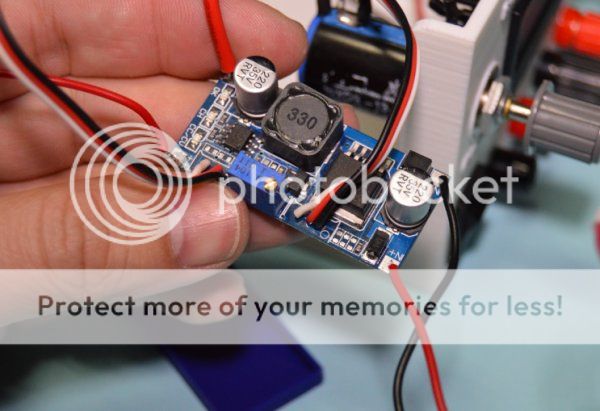
I had to remove the 2 small potentiometers from the board and solder wires instead.
I made a quick 5V regulator using a 7805. I could use a better one but i don't need much current in this 5V output.
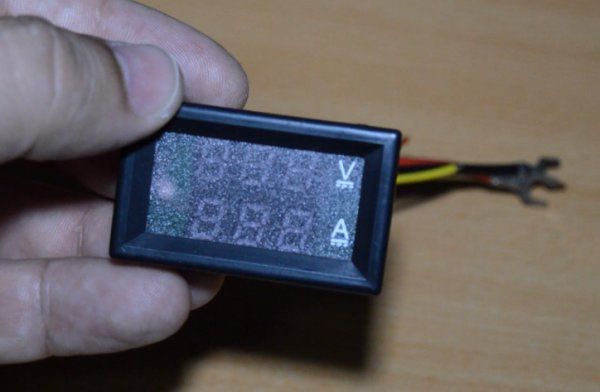
A small display with voltage and current indication:
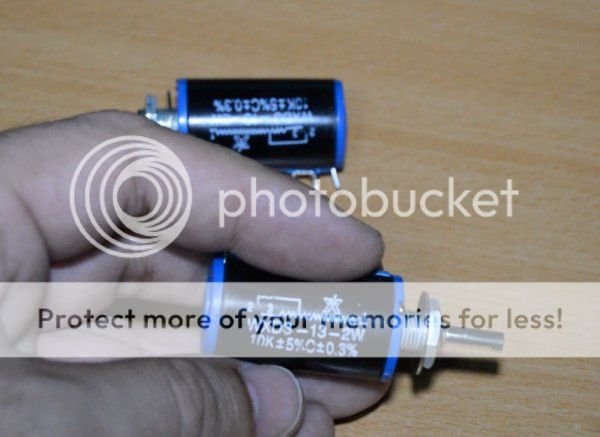
X2 potentiometers
Soldering the wires on the potentiometer:
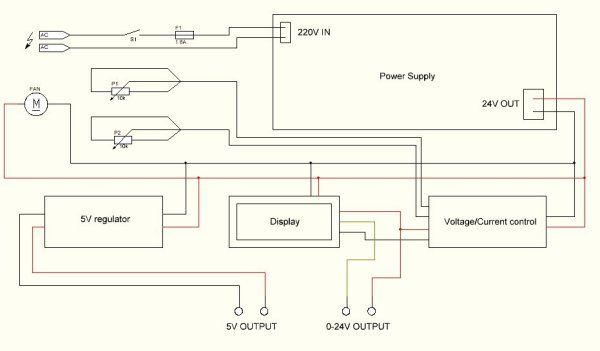
The schematic:
I also made some small prints to secure the boards.
And for the potentiometer.
A detail of the connections:
I designed the cover but decided to use the metal cover from the old power supply.
For the feet, i used those rubber models that are supplied with glue and ready to install.
Testing the power supply:
I've made a video of the assembly.
It can be viewed here:
BOM:
x1
100W AC-DC converter - 110V 220V to 24VDC 6A - Power supply switching transformer
x1
LM2596 DC-DC Buck converter constant current voltage adjustable module
x1
30V/10A voltmeter ammeter blue and red led dual volt meter gauge
x2
Multi-turn wirewound potentiometer WXD3-13 10Kohm
x1
5V regulator
x1
24VDC 60x60mm fan
x2
Plastic shell metal insert potentiometer knob cap for 4mm diameter shaft
x1
240V power on/off switch
x4
panel mount banana plugs
X1
Power lead
x1
Fuse socket
Wires,ferrules and enclosure
The STL files to print the plastic parts can be downloaded here:
www.thingiverse.com/thing:2040126


