![]() O artigo desta semana não é propriamente uma invenção minha. Esta modificação é de autoria de outra pessoa e publicada noutro site.
O artigo desta semana não é propriamente uma invenção minha. Esta modificação é de autoria de outra pessoa e publicada noutro site.
Existem, no entanto, algumas pessoas que seguem as instruções desta modificação e publicam-na com a sua versão.
Esta é a minha...
![]() This week’s article is actually not my own creation. This modification is to give credit to someone else and also has been published first in other website.
This week’s article is actually not my own creation. This modification is to give credit to someone else and also has been published first in other website.
There are, in other hand, some people that follow his instructions and publish their personal versions.
This is my version…
A modificação que pretendo mostrar permite desbloquear algumas opções escondidas nestes paquímetros e que podem ser bastante úteis. As opções que serão desbloqueadas são descritas no final do procedimento.
É super simples de fazer mas requer alguns cuidados para não danificar o paquímetro.
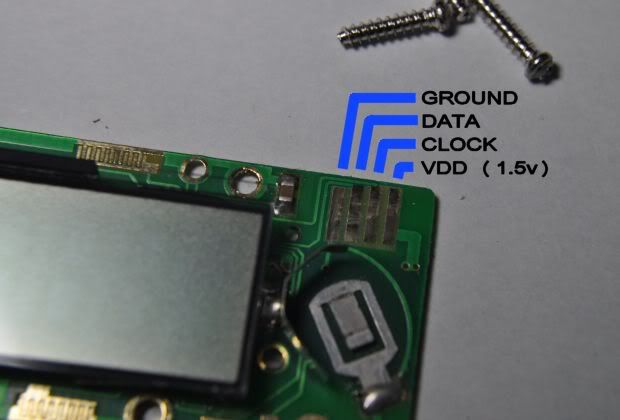
Estes paquímetros possuem uma abertura que dá acesso a 4 pinos na placa de circuito impresso.
Esses 4 pinos servem desde alimentar o aparelho com uma fonte externa até controlar as funções.
Da esquerda para a direita são: Terminal negativo, Data, Clock e Terminal Positivo.
Para desbloquear as funções escondidas vamos ter que curto-circuitar os pinos 2 e 4.
The modification that i post here today enables some hidden options in these calipers and can be very useful.
The options that will be unlocked are mentioned after the procedure.
It is a very simple procedure but it has to be done carefully or the caliper can end up damaged.
These calipers have an opening which give’s access to a 4 pin connection.
With this 4 pin connection it’s possible, for example, to connect the caliper to an external power source, control functions, etc.
From left to right they are: Negative terminal, Data, Clock and Positive terminal.
To unlock the hidden options we will have to connect pin 2 and 4 together.
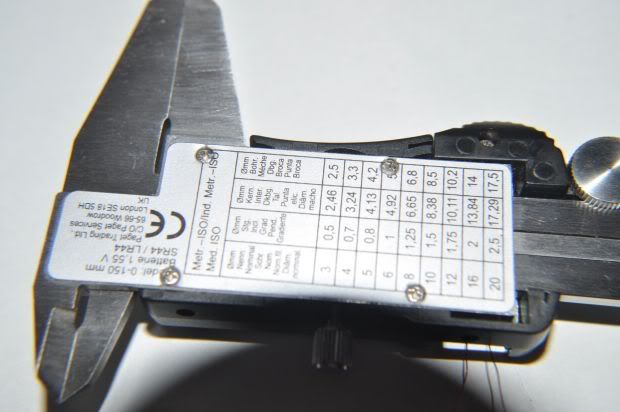
Os paquimetros que foram modificados nos outros sites são diferentes do meu, mas embora o aspecto exterior e interior seja diferente, ele pode ser modificado igualmente. O meu é dos mais baratinhos e foi comprado no lidl.
The calipers that have been modified in other sites are a bit different than mine, but even though the inner and outer look is different it can be modified as well. My caliper is one of the cheaper ones bought in a Lidl store.
O primeiro passo é localizar os parafusos e abrir o paquimetro. Como o meu trazia uma pelicula na parte traseira, mas observando as fotografias dos outros paquimetros foi facil perceber que os parafusos estariam no mesmo local.
The first step is to locate the screws that will enable us to open the caliper. My caliper has a plastic sticker on the back side, but watching the pictures of the other calipers it was easy to locate them since they would most probably be in the same position.
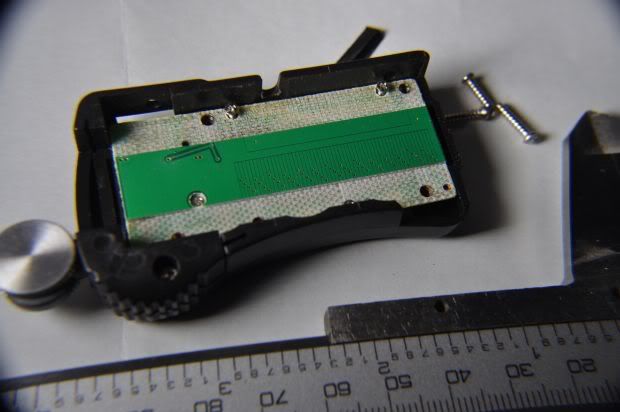
Depois de retirar a caixa que contêm a placa electronica e o display da peça metálica, é necessário desapertar mais uns parafusos para retirar a placa de circuito impresso.
After removing the plastic box that holds the pcb and display from the metal part, it is necessary to unscrew some more screws to remove the pcb.
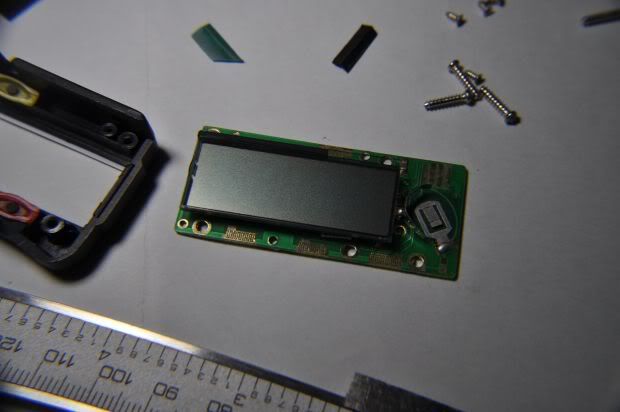
Apartir deste passo é preciso muito cuidado com o display.
O display está ligado á placa de circuito impresso por pequenas borrachas que contêm finas ligações.
From this point forward some caution is required handling the pcb and the display.
The display is connected to the pcb by small rubbers that contain small connections inside.
Não existe nada a segurar o display á placa a não ser estas pequenas borrachas. Caso elas desencostem da placa ou do display, é um pouco dificil repôr o alinhamento das pequenas ligações e uma vez descoladas, podem desconectar-se facilmente provocando caracteres erráticos no display.
There is nothing holding the display to the pcb unless these small rubbers. If they separate from the pcb of from the display, it will be very difficult to align the small connections and once the rubber is separated, it will be loose and may easily disconnect itself causing some weird characters to appear on the screen.
Uma vez retirada a placa de circuito impresso, conseguimos aceder facilmente aos pinos.
Agora podemos soldar 2 pequenos fios ( quanto mais finos melhor ). Um ligará no pino 2 e o outro no pino 4.
Once removed the pcb, we are able to access the pins easily.
Now we can solder 2 small wires ( the thinner the better ). One will be soldered in pin #2 and the other in pin #4.
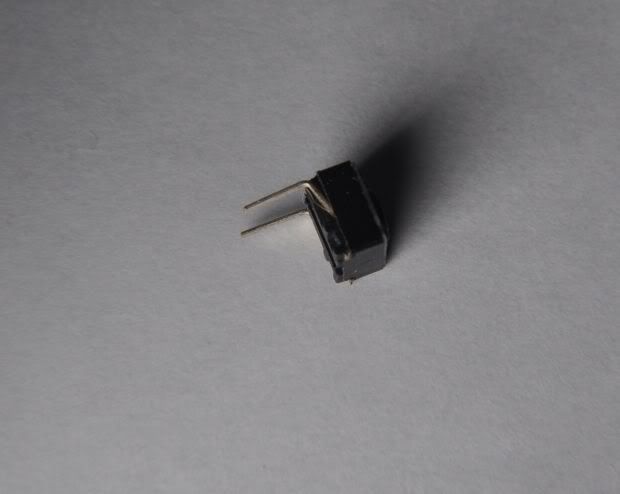
Para curto-circuitar os pinos vou usar um pequeno botão de 2 pinos. Previamente dobrei os seus pinos 90º duas vezes ( como se vê na foto ) pois assim estes irão entrar á justa na caixa do paquímetro travando o botão.
To short them together i used a small 2 pin push button. Previously I folded the pins 90º twice ( like in the picture ) so that it would go tight in the slot and therefore holding itself in place.
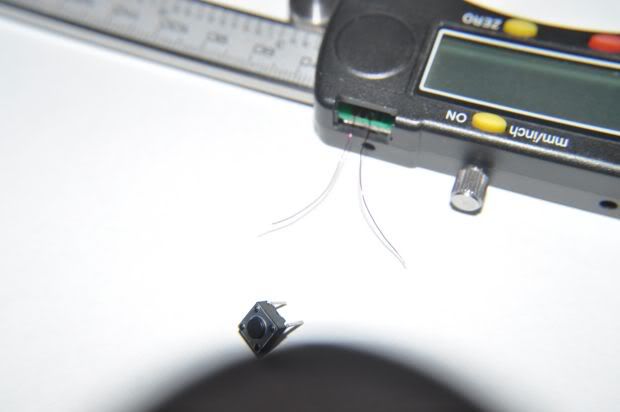
Depois de soldados os fios na placa montamos tudo de novo deixando os fios de fora como na figura abaixo.
Soldamos os fios no botão e encaixamos o botão na ranhura.
After the soldering is done it’s time to re-assemble everything leaving the wires coming out from the slot like the picture bellow.
After that, we solder the wires to the button’s pins and place it in the slot.
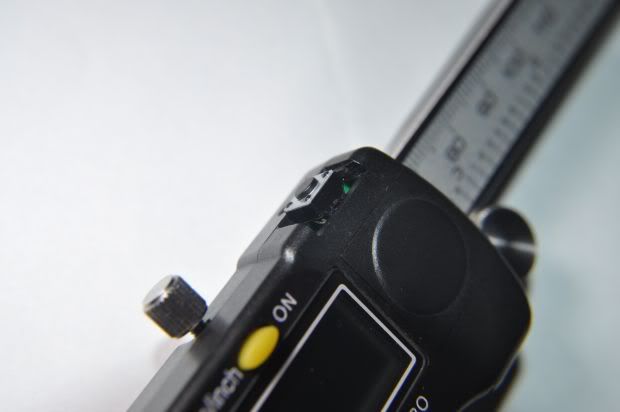
Com os pinos dobrados desta forma, o botão entra á justa e fica com este acabamento.
With the button pins folded this way, the button will stay in place because it will be a tight fit. This is how it looks like.
Agora pressionando o botão temos acesso a alguns modos que antes eram inacessíveis.
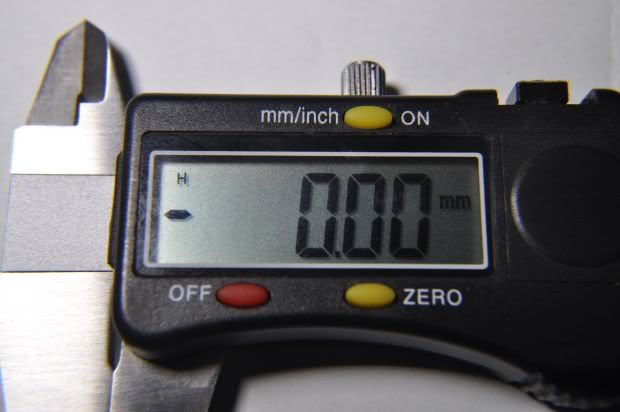
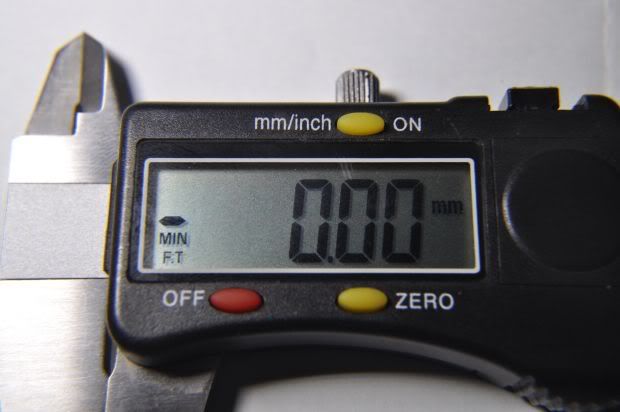
Estando no modo normal, se pressionarmos uma vez no botão leva-nos a um modo de leitura rápida ( FT ) onde alternando com no botão "zero" o valor fixa ( H ).
Pressing the new button we gain access to some modes that were not available before.
Being in the normal mode, pressing the new button once we get the Fast reading mode ( FT ) where pressing the zero button we can freeze the reading ( H ).
Carregando novamente no novo botão, ele entra no modo de valor mínimo ( MIN ).
Este modo mostra o valor mais baixo medido. Novamente se carregarmos no botão "zero" ele fixa o valor ( H ).
Pressing again the new button it will go into the minimum value mode ( MIN ).
This mode will show the lowest value measured. If we press again the zero button the reading will be in hold again ( H ).
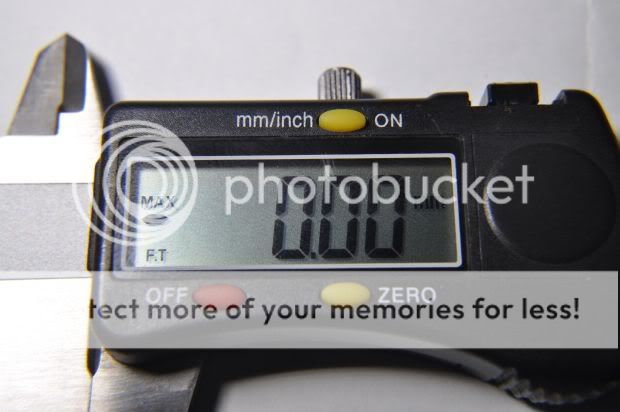
Carregando mais uma vez no novo botão ele entra no modo de valor máximo ( MAX ).
Este modo mostra o valor mais alto medido. Novamente se carregarmos no botão "zero" ele fixa o valor ( H ).
Pressing the new button one more time it will go into the maximum value mode ( MAX ).
This mode will show the highest value measured. If we press again the zero button the reading will be in hold again ( H ).
Considero este um excelente upgrade a este paquímetro.
Desde já o meu obrigado ao pessoal que descobriu esta característica.
My thanks go to the guys that discovered and published this feature.
I consider this a wonderful upgrade to this caliper.
O artigo original pode ser encontrado aqui:
The original article can be found here:
hackaday.com/2011/01/12/hold-fast-and-max-features-on-a-digital-caliper/


